
How to install let’s encrypt SSL on Cpanel ?
The Let’s Encrypt™ Plugin allows the Auto SSL to issue the ssl certificates from the provider of Let’s Encrypt™. Developer can use Let`s Encrypt plugin if you do not want to install default cpanel`s ssl. Issuing the certificate from this plugin is much easier and faster than default provider. It offers wildcard domains secure option; which default provider cannot do.
1. Log in to the cPanel.
To login cpanel try to use /cpanel after the domain name. You will get cpanel`s login page use your correct password to login.
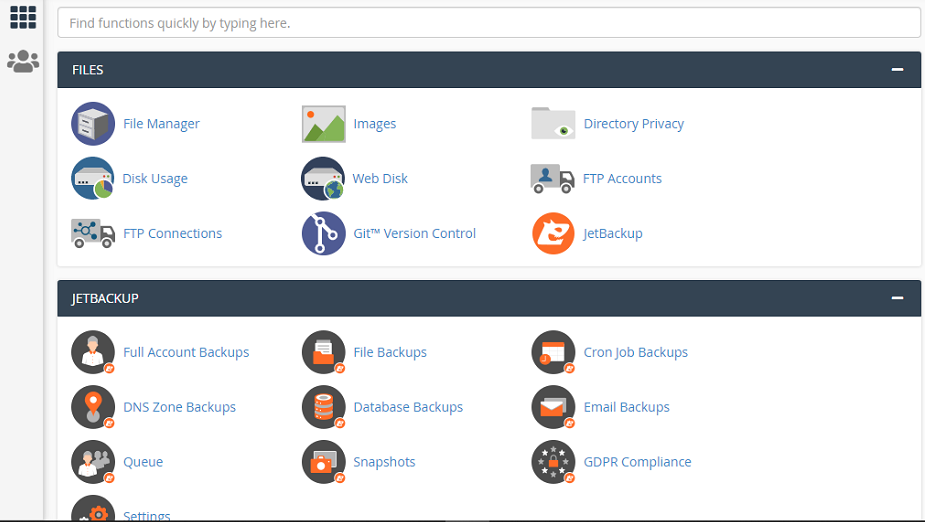
2. Click on SSL/TLS Status

3.Verify your SSL certificate status
Now, time to verify your SSL certificate status; by default, self-signed SSL certificate will be created for all the new accounts in cPanel. In order to install a Let’s, Encrypt SSL certificate, we have to delete the current default or self-signed SSL certificate.

4. Delete Private Ssl
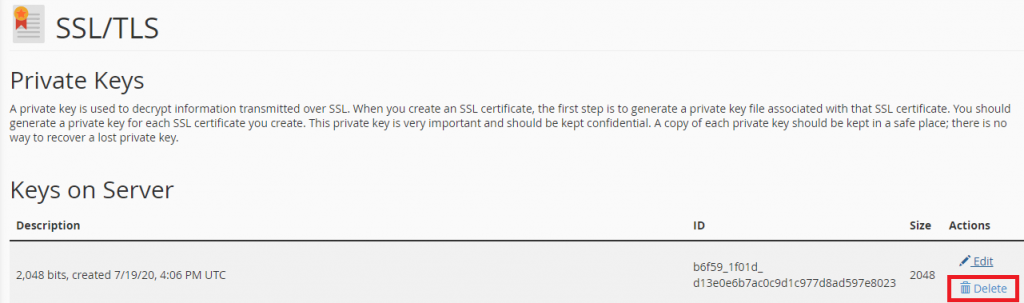
Private Ssl delete
5. Click to Let`s Encrypt

Let`s Encrypt Ssl
6. Issue Ssl Certificate

Issue ssl Certificate
7. Install Ssl Certificate
To install ssl certificate , click on select the domain then will show your domain Name. Then, click on auto fillup by domain , and click on install certificate.

Install Let`s Encrypt ssl
8.Verify SSL Validation Method
Verify the SSL certificate validation method by browsing your site with HTTPS or you can verify with online tools: https://www.sslshopper.com/ssl-checker.html
Please remember that , the validity of Let’s Encrypt SSL certificate is 90 days, you can get the explanation about it here. But, no worries, your cPanel will help you renew it automatically and it will be renewed within 5 days before the expiry date.

Leave a Reply
You must be logged in to post a comment.